

Installation of Original Antique Wood Floors
The process described below was commonly used in period attics to use the wood in the most efficient way. On the first and second floors, they often had long enough planks to do single runs. Because of the nature of salvaged antique flooring, we don’t have the luxury of having all full runs, so this process uses the wood efficiently with less waste. It also creates a visually pleasing pattern rather than a uniform, flat, and straight appearance.
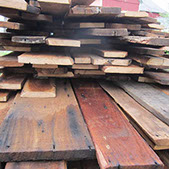
With antique flooring, boards usually are not all the same thickness. Avoid putting a thick board next to a thinner board by using some intermediate thickness boards between them. If needed, use shims to make adjacent boards relatively level. The sanding process will help smooth them out, but differences in thickness add to the authenticity of the floor.
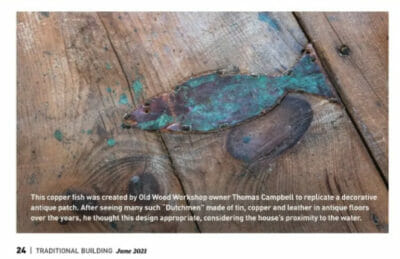
If a defect is near the middle of a board, it can be patched with a dutchman (wooden, metal or leather patch—see image at right). If this will take too long, the board can be cut into two shorter boards and used in another ‘block’. If it’s a nice wide board, I recommend patching it. Refer to diagrams below as an example of the layout using ‘blocks’.
If you have questions about the installation process, feel free to call or email Tom at 860-655-5259 or info@oldwoodworkshop.com.
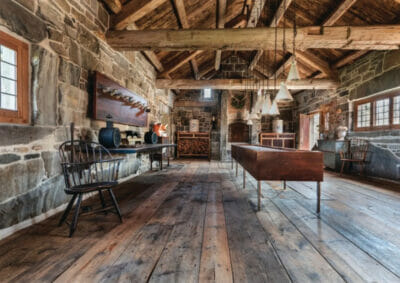
Images by Nat Rea, as seen in Traditional Building, June 2021

Guidelines for installing your antique flooring
- Organize boards by length. Each ‘set’ of lengths will form a ‘block’.
- Roughly lay out ‘blocks’ to cover floor in an organized manner.
- Start in one corner of room with a ‘block’, preferably near the most traffic or visual area.
- Lay out boards from left to right, using least desirable boards (i.e., boards with cracks or rough surfaces) near walls and low traffic areas.
- Flip boards end-to-end depending on taper (don’t flip them over, so the wrong surface shows).
- Using a track saw, trim both edges of the first board to remove edge defects. Do not worry about making edges parallel to each other, just straight.
- Trim ends to remove defects and to have end of board land on a joist for nailing.
- Tack flooring down with a finish nail gun prior to sanding. (Once the whole floor is sanded, pre-drill nail holes along joists to prevent splitting, especially on ends, and hammer in face nails (preferably reproductions from Acorn or a similar company. Nails should be approximately 3” long.)
- Continue the trimming process, creating boards of similar length and flipping them end to end so that a narrow end is next to a wider end as you go left to right. While working on this ‘block’ allow for shorter boards to land on one joist and longer boards to land on the next joist (see Diagram B). This visually interlocks two blocks at the butt-joint and adds character to the floor vs. having one long, uninterrupted butt-joint.
- Once finished with first ‘block’, continue with the next ‘block’ which will be either longer or shorter than the first. You can continue to the right of the first ‘block’, most likely finishing at the right-hand wall, or continue lengthwise, most likely finishing at the far wall.
- When continuing to the far wall, stagger vertical seams at the butt joint.
